AP Transactions can be imported from CSV files in to Restaurant365. Unlike Documents to Process, which requires a User to process the data at a later time, Imported AP Transactions contain all of the transaction details and are ready for review and approval upon being imported.
Transaction Detail Options
AP Transactions can be imported as complete Transactions, or as AP Invoice Details in to an existing AP Invoice
- Multi-Transaction - Import multiple AP Invoices and/or AP Credit Memos from a single file
- AP Invoice Details - Import transaction details in to one AP Invoice from a single file
Import Methods
Multi-Transaction files can be imported in to Restaurant365 using any of the three following methods:
- FTP - Vendors, or Users, can upload completed transaction files in to their FTP Folder for automatic import
- AP Automation - Vendors, or Users, can email attachments of completed transaction files to a designated email address configured with AP Automation
- Manual Import - Users can manually import completed transaction files using 'Import AP Transactions' found on the Vendor menu in the Top Ribbon
AP Invoice Details can only be imported on an existing AP Invoice. The Invoice header must first be completed, including selecting the Vendor, and Location for the AP Invoice. The User then hovers over the 'Action' menu and selects 'Import'.
Import Templates
Restaurant365 has created AP Import Templates that can be used for importing AP Transactions. Transactions can be imported by Account or by Item. To do this, navigate to the 'Import Tool' under 'Administration' in the top ribbon and downoad a template for an AP Invoice.
In addition to templates provided by Restaurant365, numerous Vendor Integrations exist with Vendor Specific flat files. Click here for more information on EDI Vendor Integrations.
Importing
Multi-Transaction:
FTP
- Upload via FTP Client, or drag and drop via FTP Desktop connection, flat file in to main FTP folder
AP Automation
- Email flat file as an attachment to designated AP Automation Email address. Ensure to configure AP Automation on System Preferences
Manual Import
- Hover over 'Vendor' in the Top Ribbon in Restaurant365 and select 'Import AP Transaction'. Click here for detailed instructions on Manual Imports
Imported AP Transactions will be accessible in the AP Transactions list in the Accounting and Operations modules
AP Invoice Details:
Importing AP Invoice Details is a deprecated feature in Restaurant365. Many of the Vendors that initially provided 'single invoice details only', have updated the flat files produced to include the necessary information to enable Multi-Transaction imports. For any vendors that still produce flat files that do not contain columns to identify 1) the Vendor and 2) the Location must be imported using this method.
Step 1: Create the AP Invoice and enter all Header information
In order to import the line item details, the Vendor and Location must first be selected in the AP Invoice header.
Step 2: Save the AP Invoice
Prior to importing, save the AP Invoice using the Save menu
Step 3: Import
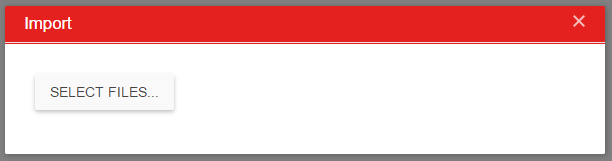
Hover over the Action menu and select 'Import'. The Import prompt will load where the User can click 'Select File' and find and select the Invoice Detail CSV file for import. Click 'Open' to import the file
The AP Invoice details will appear in the Details grid. Imported AP Transactions will be accessible in the AP Transactions list in the Accounting and Operations modules
Review Imported AP Transactions
As a best practice, all imported transactions should be reviewed before Approval. If a transaction is missing data, it cannot be Approved. Missing header information will result in failed saves. Additionally, if any Vendor Items are missing, the transaction cannot be Approved.
Missing Items

Missing Items are Vendor Items that have not been created prior to import. Click here for more information on Missing Items.